Sunday, November 20, 2011

Closet to Bench


And, we are done!  Here is the amazing outcome Before & After ...

Still missing the basket/boxes- I am making these probably tomorrow but no promises.  And, a rug to cover where the old closet carpet was. Not sure if I will make it or buy it yet..

Remember that day I told you I came home to a mess ??

There was no lighting, that's why they are so dark.


 Some more before pictures...


    During....


Painting...


And, normal again! I was so happy to have my house back from 'under construction'!!


Cost break down: Unfortunately, went a little over budget. I was guessing/hoping for $30 or less...
Drywall Mud- $5
Wall Texture- $5
White paint- $10
Fancy Trim board- $5
Metal hooks- $15
Total= $40 (approximately, I rounded everything to make numbers even)

Still very reasonable. Good thing we don't count labor because there were many hours spent creating this beauty! Luckily, the hooks were 50% off at Hobby Lobby. It would have cost us more to go eat dinner at Olive Garden, so I am okay with going over budget.

Happy Sunday!

I am so happy to say that our new entry way is DONE! Finally!!! I will have a post full of pictures later today. I love it... I am behind on posting the tutorials for things that I made. I had one craft fail/forfeit. I attempted to make a rug by upcycling old t-shirts we don't wear anymore. In my mind, it looked great. After I spent an hour ripping the fabric and then started making it... it was not what I had envisioned. haha Oh well.

Today I am starting some new and finishing up some other Christmas presents! I am so excited about some of these gifts... but I cant put them on here because it will ruin the surprise for certain family members!! I do have a few I can share...

A little early Thanksgiving dinner here tonight! I bought two turkeys because the price was just so amazing. One turkey will be all for us, and the other will be for Thanksgiving day.

Lots of pictures later for you!! =)

PS- I have to take a second to say how great my husband is! Yesterday we were finishing up all the little things on the entry way project that has been a LOT of work for him. I said "So, when do you think you will be able to bring some more wood home from work? I was thinking we (he knows this means he) could build a skinny long table for under the window in the living room..." *I was thinking his reply would be something like "Are you joking? Can I take a break for a week you crazy girl?!"* He replied, "Monday." And then went into details about how I wanted it to look. =)
I am not a slave driver.. he is sitting in front of the TV all day today watching football while I cook and clean and leave him be.

Monday, November 14, 2011

Snowmen

I am getting ready for the Christmas decorating!! =) I made these snowmen out of scrap pieces of wood, paint that I had, ribbon and buttons that I had! One is still missing her hat because I couldn't get the staples out of her head and need the help of Kevin who is working. You will see them all in their homes soon! 


Sunday, November 13, 2011

Wood Christmas Tree


I am in love with this project!! I saw a tutorial here while browsing pinterest. Here is what I did:

I used old scrap pieces of wood from when we were learning out to make frames. Painted them green. I didn't have a "tree green" so I made my own by mixing lime green, teal, and black. I also painted the tree "trunk" brown. 

I wrote the sayings with white paint. My husband said, "You did that free hand?! That looks amazing!" Although I can see all my flaws, it was a nice compliment =)


I added some glitter to the stars (Me? Add glitter? No way). Yes, I cheated and bought the stars only because they were on sale for .49 cents each(and I had an additional 25% off the entire purchase including sale items!), and it would save my husband a lot of work (we only have one really big saw). And, they were already yellow. I used wood glue to glue the "branches" and stars to the "trunks" and screws to attach the bottom piece to the trunk. We did go back and add screws to the branches/trunk to make sure it was really secure. 


The only thing I bought for this project were the stars! Total = (less than) 98 cents.
I love them! I haven't decided if I am keeping both, or giving one away. They will soon go to their home on the front porch on Black Friday! :)

A little bit of spray paint fixes everything!!

I really do believe this =) I wish I could use spray paint on the walls! I wonder... 

#1: Old Lamp It used to be in my craft room, until I stole the shade for the lamp in the living room. It has been in the closet ever since. I bought it on clearance with the intention to fix it (the glass is broken at the bottom so it is really wobbly) and it has been.. maybe two years now!! We don't have a ceiling light in our bedroom, which I hate! We really need more light in there. Decided to spruce up this old lamp! This blue is my new favorite color... I don't remember if i told you or not when I found it on clearance at Hobby Lobby for maybe 2.50 or something... I use it sparingly!! Rustoleum Wildflower Blue I think. Still waiting on a new shade (probably for a while.. haha)


#2: Pine cones I have been wanting pine cones! I wanted to go pick my own in the mountains instead of buying them in the store, so I have been waiting and finally got some today!! Added a little of Krylon glitter spray paint to make them stand out a little. *By the way, I read a post about this spray paint a while ago.. the lady was raving about how much she loved it. It is 7.00 (way to much!) so when I had a 50% off coupon at Michael's I decided to give it a try. It is awful!!! The little bottle was gone SO fast, it was really thick and clumpy and just not a good product at all. I wont be getting this again, ever!*


I spray painted a few more things this weekend too, but you will have to wait to see them! =)

Thursday, November 10, 2011

Living in Chaos!


Where have I been with all my projects you ask? We have been SO busy with this little project!!

I have been wanting to take out the closet in my entry way ever since we bought the house. Now that it is winter and Mr. Handyman has some time off work (the dreaded snow days!) I thought it would be a perfect time for him us to do this project!! We talked about it, went over every detail, I found a picture of exactly what I wanted. We went over the cost, all the way down to the penny. So, we were ready to start!

11.2.11 - 11.7.11: Cut, rip, tear out all the drywall and 2x4's. I was working, expecting to come home to a mess. A "mess" is definitely an understatement. Oh. My. Gosh! (I tried to take some pictures for you to see, because words cannot describe.)
We knew we would have to move the electrical box because it was on the wall of the closet. No big deal (we thought... ) because we would already have a hole in the wall. Well, whoever built our house took a LOT of shortcuts. *I would never know this, but since Kevin builds houses everyday, he knows how they are supposed to be done.)* Long story short, Kevin had to drill a new hole in the floor, and the ceiling, and cut more drywall down to move the electrical wires. 
He then patched the walls with drywall tape and mud. I have Tuesday off and wanted to paint, so I asked him to show me how to sand it. He did.
So far we have bought:
Drywall Mud- approx. $5
Wall Texture (not in budget)- approx. $5  Total: $10

11.8.11- I sanded lightly (as instructed). I then painted with some "texture." And then with blue. *I mixed 1/2 gal of white that I had with a few spoonfuls of blue that I had to make light blue*
Now for the hilarious part. Kevin comes home and says:
Him: Did you sand the walls?
Me: Yes
Him: Uhm, it doesn't look like it. Why did you paint over it when it looked so bad still?
Me: I thought that's what the texture was for, to cover the imperfections?
Him, shaking his head at me...
So, now he has to apply more mud, sand, mud, sand, etc. until smooth. Then, I will paint those spots another coat of paint! Whew. I love the color though!!
I bought a gallon of white white paint, to paint the ceiling, the bench, the molding, and the bottom half of the walls- $10 Total so far- $20

11.10.11- I'm pretty sure I am forgetting some of the chaos, but now we are on to the bench. It is coming along great!! This has taken two days so far. *Lets not forget that we are working during the day. I'm pretty sure I have the best husband EVER!* He has the day off tomorrow, and will be finishing the bench.
Total so far- $20 My guesstimate budget was $30. There is nothing else left for us to buy that I can think of.. but I'm sure something will come up!!

So much for a little project, huh?? I anticipated us finishing this LAST Saturday. This weekend he will be in a tournament all day Saturday. I am hoping we can finish this up Sunday! Did I mention my house is a wreck!? I have swept, mopped, cleaned the dogs SO many times since we have started this and there is STILL drywall dust everywhere. I cant stand it!!

Tuesday, November 1, 2011

W's

I made some really cute things today!! 


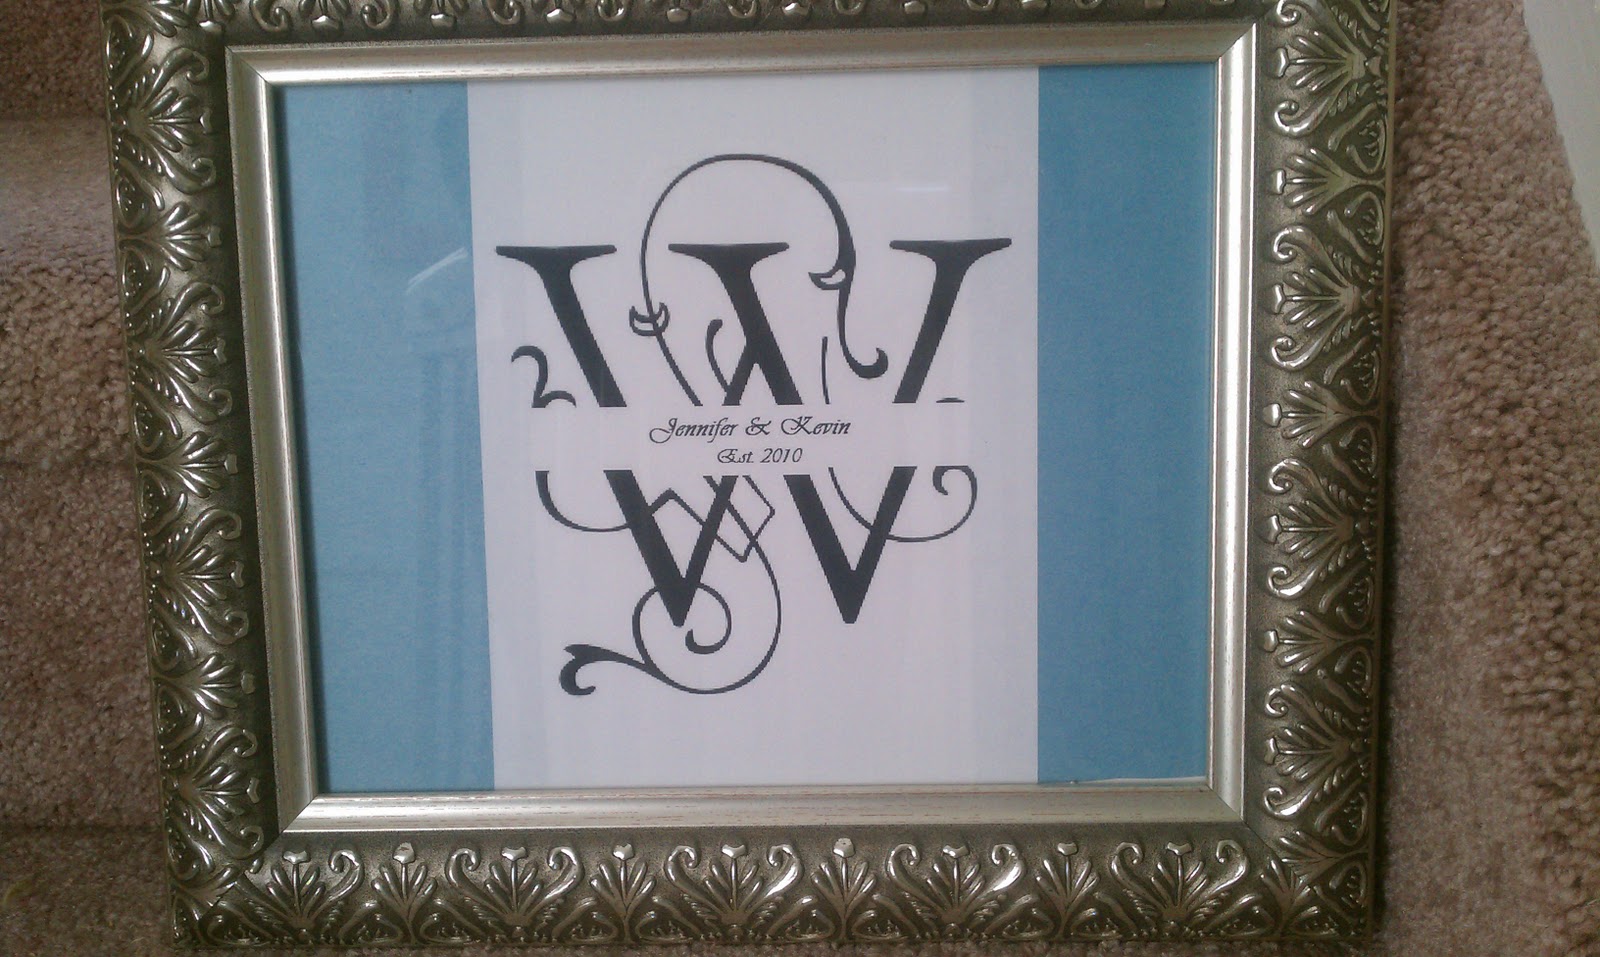
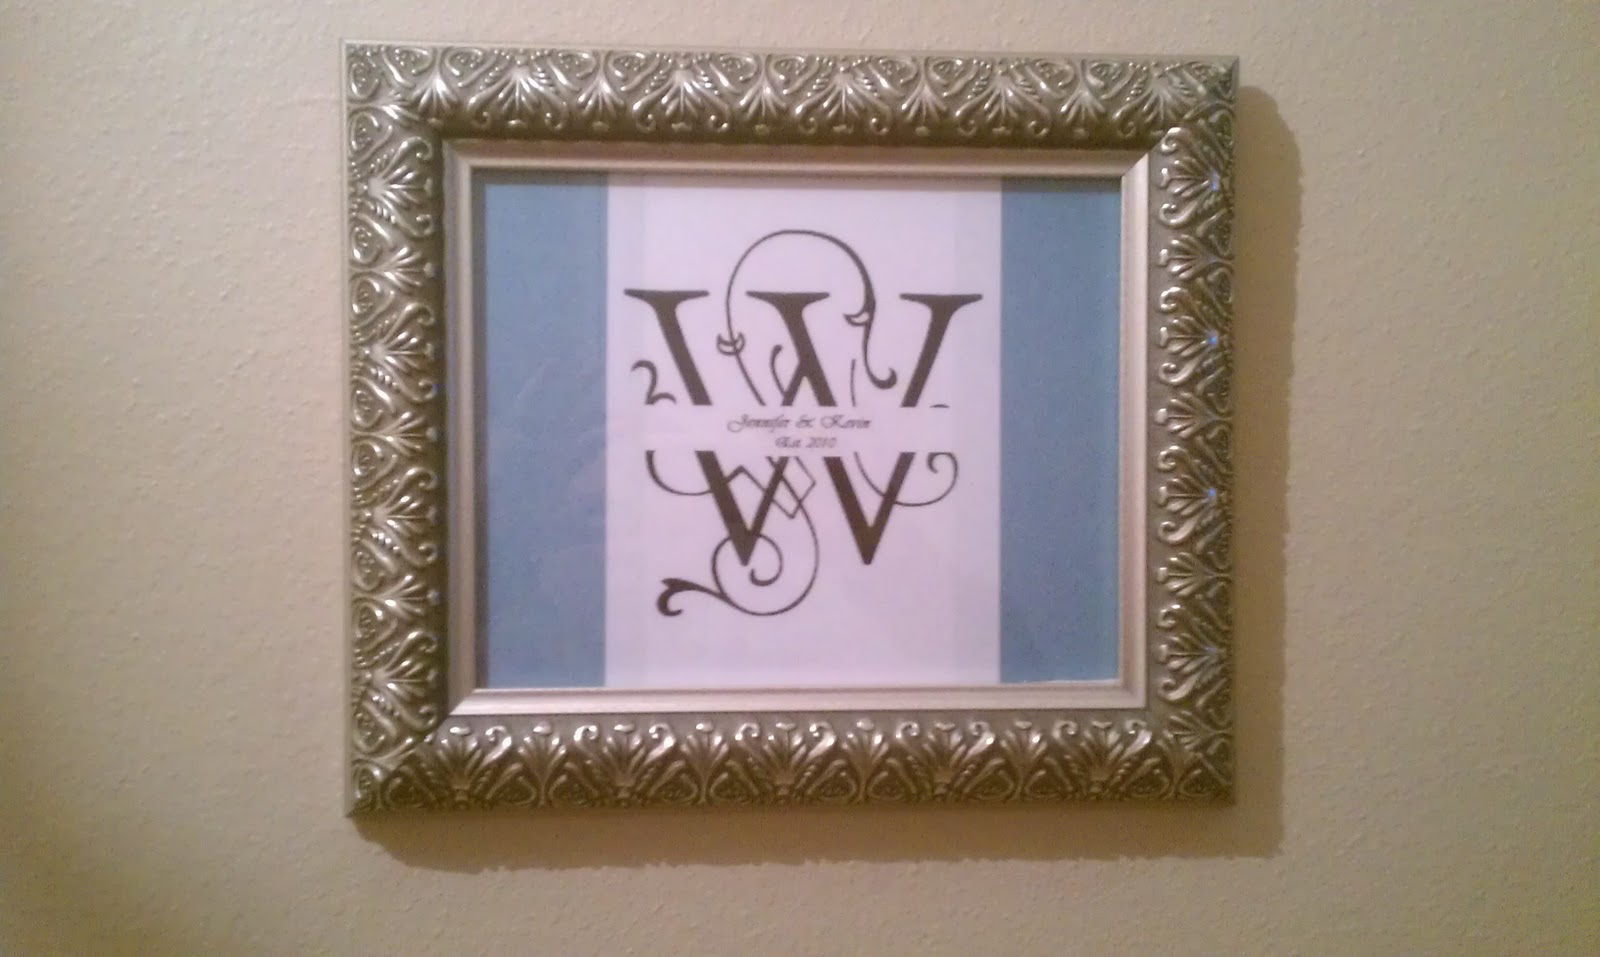
This 'W' I grabbed from google images, pasted it in Paint on the computer, cut it in half, pulled the halves apart, and added 'Jennifer & Kevin, Est. 2010.' Printed it off, it was to skinny for the 8x10 frame but to big for the 5x7 frame. So I added two blue strips from construction paper. Put it in a frame I had. I love it! It looks great with our canvas, slowly working on the 'wedding photo wall.'


This 'W' is on a canvas. I saw a similar one on Pinterest. I am terrible at drawing things, so I had my husband draw a tree on the painted white canvas. I then painted the tree brown, added the buttons, and then I googled a W, found one that I liked, and I drew it in pencil on the canvas (myself!!), then painted over it in black paint! Easy, fast, and it looks amazing!! =) 

Yes, I am obsessed with W's, I know!!